Foobar2000Playlist Viewers display the current playlist of songs. Different playlist viewers offer various capabilities such as formatting, grouping and visual options. A playlist viewer is usually the central panel and main focus of a Foobar2000 interface. Foobar2000 plays the next song of the current playlist unless the play order has been changed from default, to repeat, random or shuffle. There is a playback queue but it is not visible or used in normal operation.
mtpl Playlist (supports folders, playlist in playlist and sub-tracks)
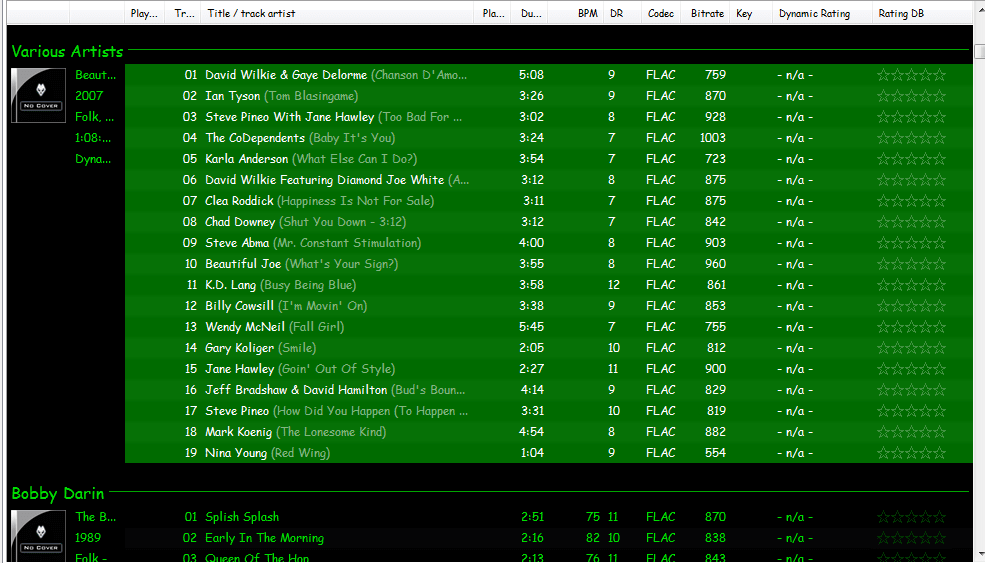
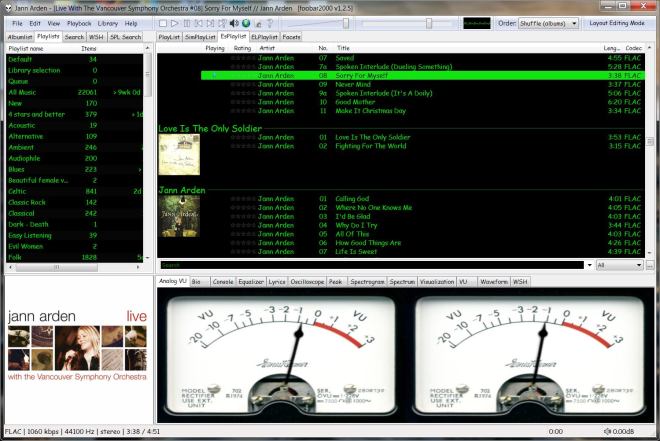
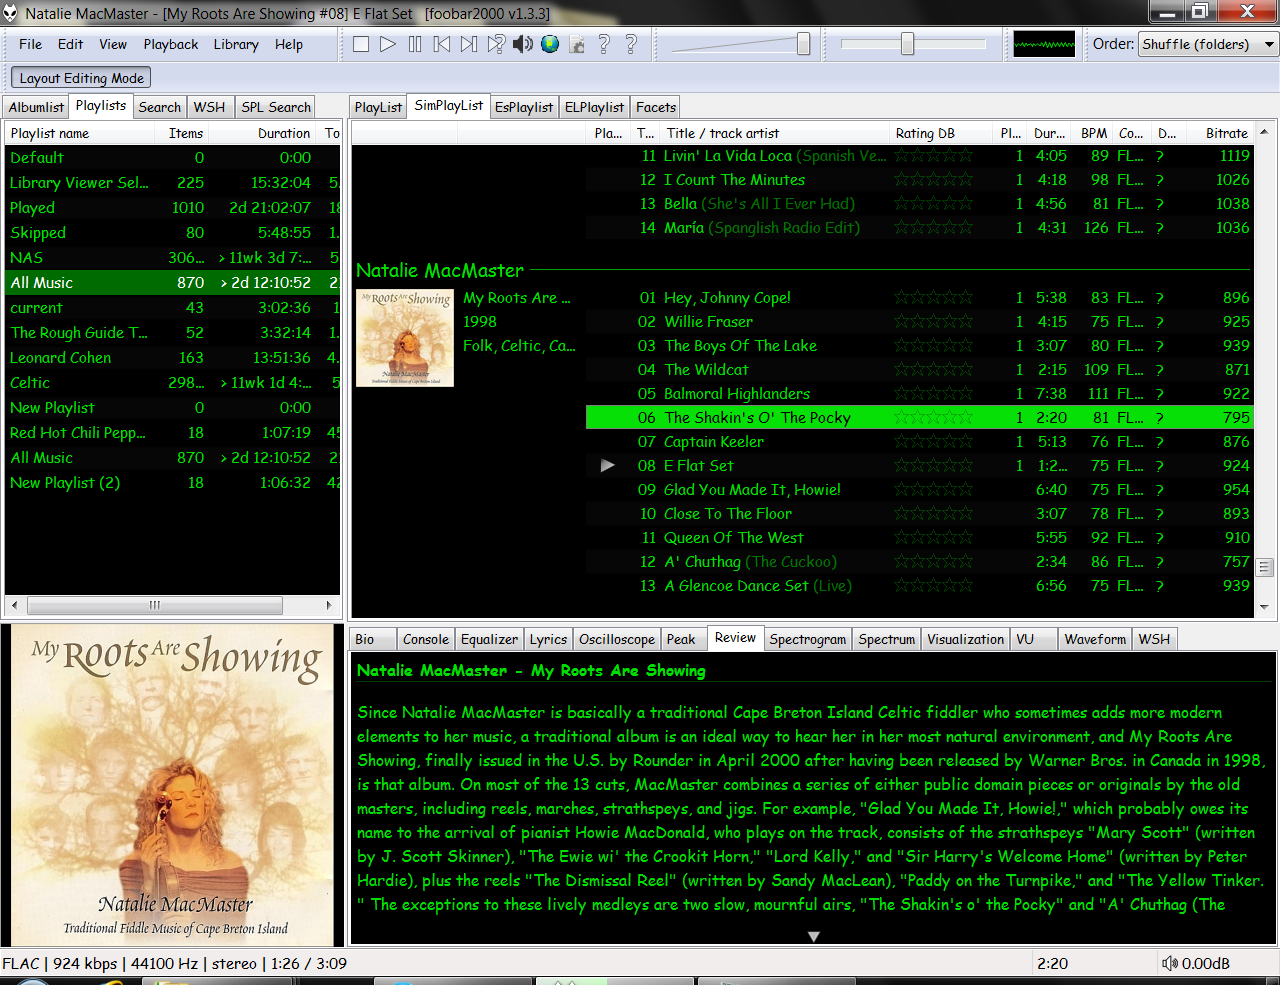
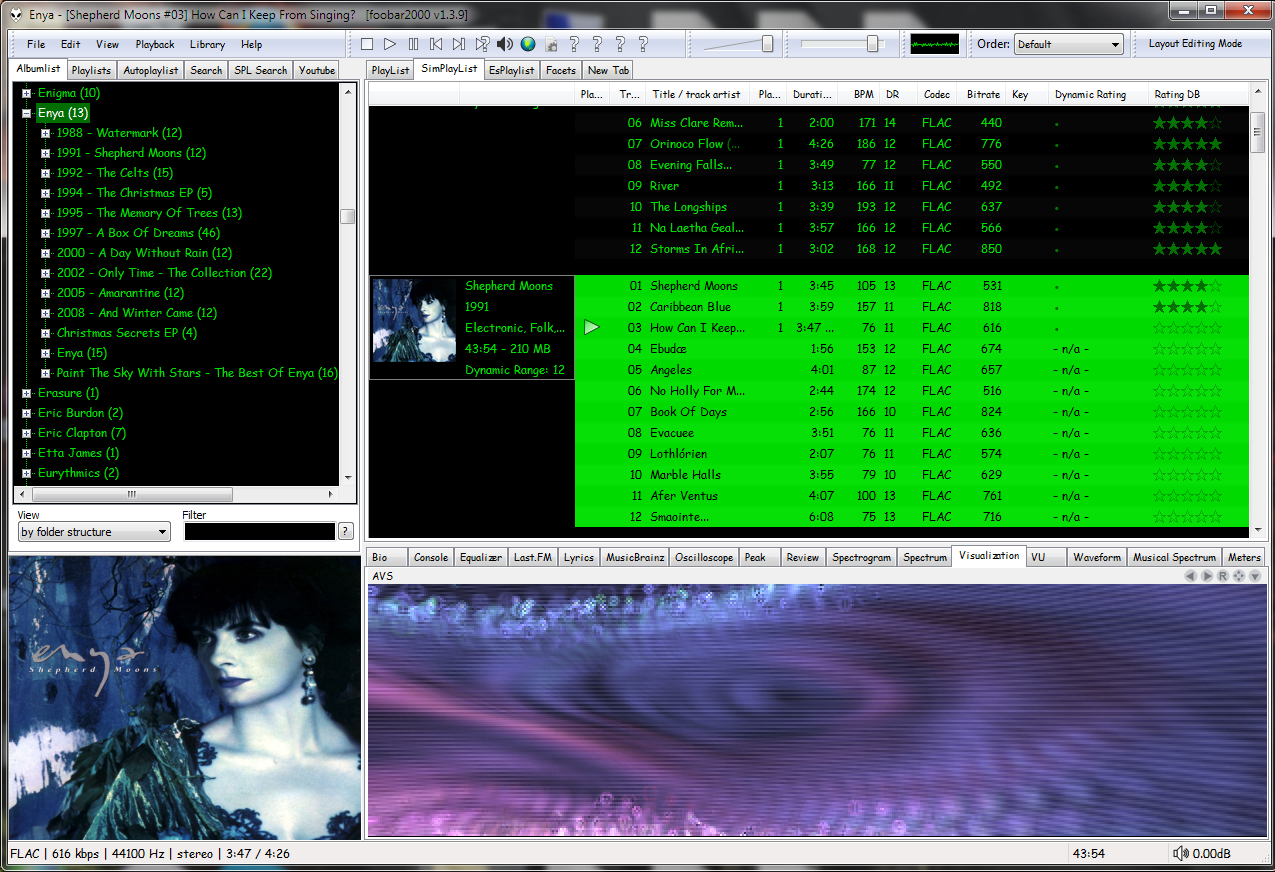
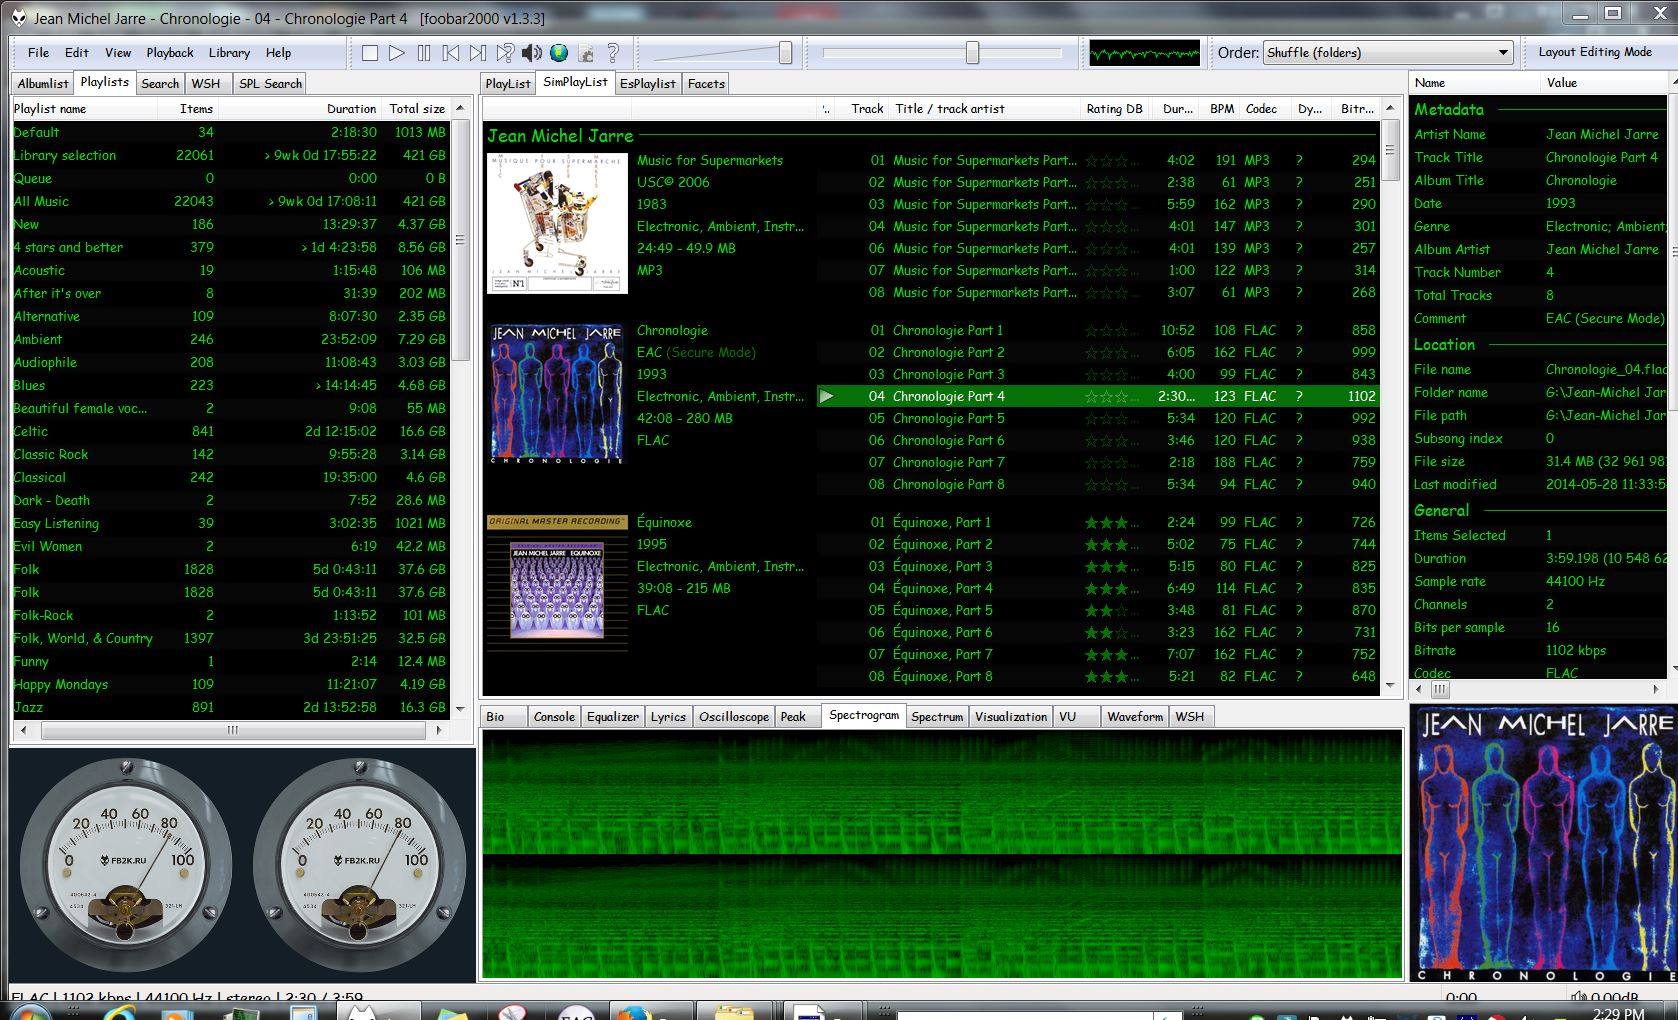
SimPlaylist (multiple grouping levels, album art, etc.)
SimPlaylist
Adding a custom column to a playlist view: (using play count as an example)
When adding a column view in a playlist, you’ll need to define the column first.
Navigate to Preferences > Display > Default User Interface > Playlist View > Custom Columns
at the bottom of the custom columns windows, click “Add new‘
Name the Column “Played‘ and %play_count% as the ‘pattern’
click apply, ok
Now right click the title bar of the playlist and select “Columns” and make sure ‘Played‘ is selected (checkmarked) and that you can see the column in the playlist, it will be last but you can rearrange it.
ReplayGain is … a technique invented to achieve the same perceived playback loudness of audio files. ~ Hydrogenaudio Knowledgebase
ReplayGain … allows players to normalize loudness for individual tracks or albums. This avoids the common problem of having to manually adjust volume levels between tracks when playing audio files from albums that have been mastered at different loudness levels. ~ en.wikipedia.org/wiki/ReplayGain
If you’re using track gain, every song is played at 89 dB; no song is any louder than any other. If you’re using album gain, tracks will be played at 89 dB plus or minus a few dB, depending on how much louder or quieter each track is relative to the other tracks on the album. By definition, album gain is not going to make all tracks as loud as possible; the quieter tracks are going to remain that much quieter than the louder tracks, and they’ll average out to 89. ~ Hydrogen Audio
Using ReplayGain in Foobar
(1) First set the ReplayGain target values:
Preferences / Playback / ReplayGain Source mode: by playback order Processing: apply gain and prevent clipping according to peak
Foobar2000 Preferences – Playback – ReplayGain
Recommended Values:
Set Preferences / Preamp / Without RG values: to around -8.0 db
If you are also playing tracks which aren’t RG-tagged, they’ll be playing quite loud in comparison to the RG-tagged ones. To mitigate that, you can set the “Without RG info” Preamp level to, say, -11.9. This will make the player pretend they have -11.9 dB album gain. Thus if you played a non-RG-tagged copy of that loudest track, it would be played at 89 dB instead of its natural 100.91 dB, and would thus match the level that all the RG-tagged tracks are played at. However, then the quieter non-RG-tagged tracks would still be that much quieter. So you may find -8 or so to be a better “without RG info” preamp level, on average.~ HA Forum
I usually set my non-RG preamp to somewhere in the range of -7.0 dB to -9.0 dB. ~ HA Forum
If you listen to modern music -7dB/-10dB value should be correct. If you listen to older music, keep the value a bit lower because the average level of recently released tracks are higher. ~ eolindel.free.fr/foobar0.9/Replaygain
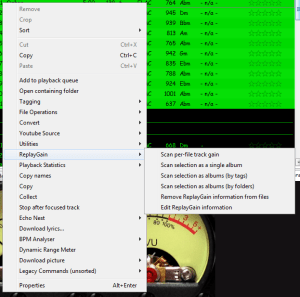
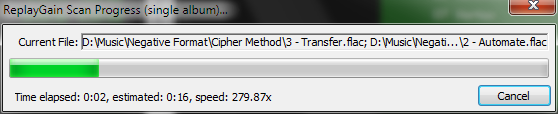
(2) Next scan files:
Select Files / Right mouse / ReplayGain / Scan selection as single album (adds album and track ReplayGain tags)
Once the files are scanned, they can be played.
True Peak Scanner
The foo_truepeak component scans ReplayGain, Dynamic Range, LUFS, PLR RMS values, etc.
Foobar ReplayGain Override Component
For older versions that lack the “by playback order” option, this component provides a way to specify which ReplayGain modes to use for each playback order. Track gain is probably desirable for random playback while with regular playback album gain is more suitable.
Track Volume (-18dB is equivalent to the ReplayGain target volume of 89dB) $if(%replaygain_track_gain%,$puts(X,$sub(-1800,$replace(%replaygain_track_gain%,.,)))$ifequal($get(X),0,0,$ifgreater($get(X),0,$replace(+$substr($num($get(X),4),1,2),+0,+),$replace($substr($num($get(X),5),1,3),-0,-))).$substr($num($get(X),5),4,5) dB)
Album Gain (relative to the ReplayGain target volume) [%replaygain_album_gain%]
ReplayGain’s Album Volume $if(%replaygain_album_gain%,$puts(X,$sub(8900,$replace(%replaygain_album_gain%,.,)))$ifgreater($get(X),9999,$substr($get(X),1,3).$substr($get(X),4,5),$substr($get(X),1,2).$substr($get(X),3,4)) dB))
Album Volume (-18dB is equivalent to the ReplayGain target volume of 89dB) $if(%replaygain_album_gain%,$puts(X,$sub(-1800,$replace(%replaygain_album_gain%,.,)))$ifequal($get(X),0,0,$ifgreater($get(X),0,$replace(+$substr($num($get(X),4),1,2),+0,+),$replace($substr($num($get(X),5),1,3),-0,-))).$substr($num($get(X),5),4,5) dB)
Do you have albums where the artist’s names are in the track title field, and the title of the track is in the artist name field? Here’s how to fix this.
Start by checking the file names. If the file names have both artist name and track title information, then the fix is easy, just retag the files using the Automatically fill values function.
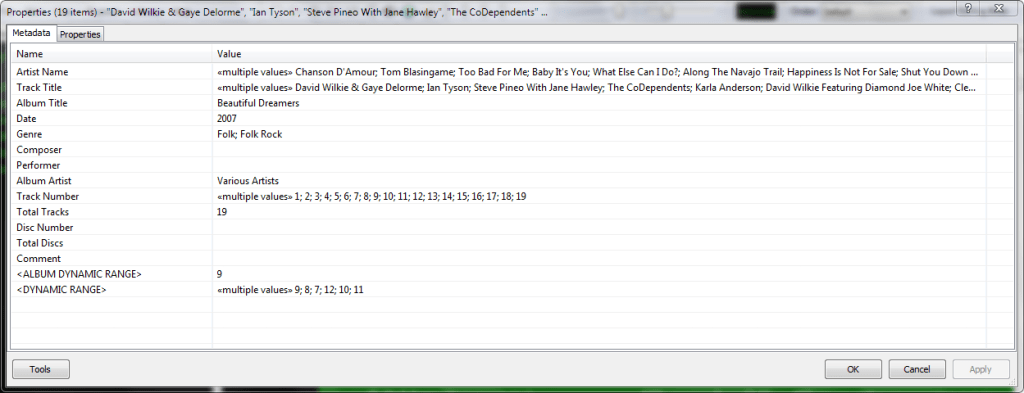
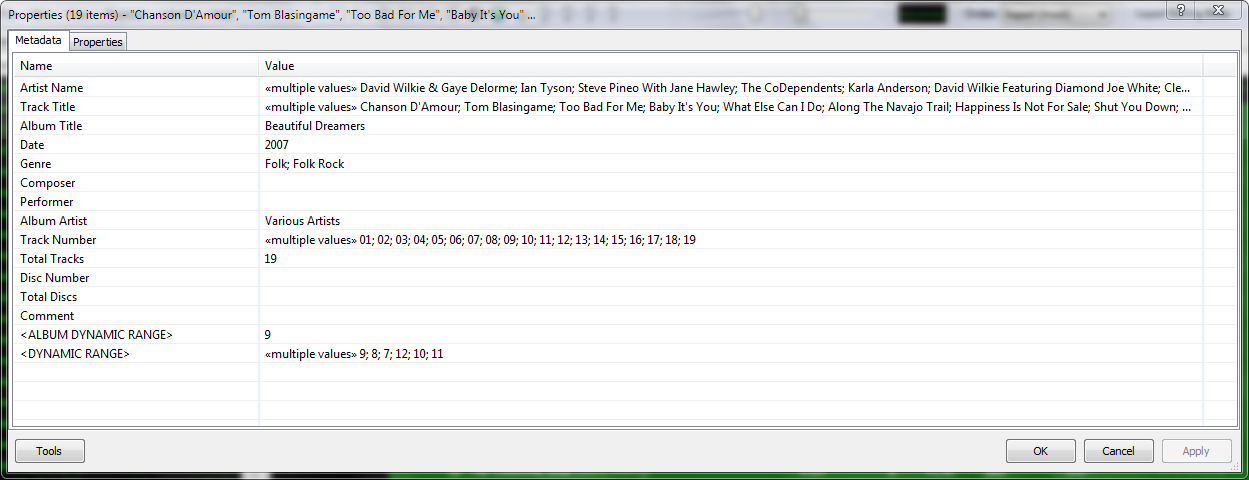
First, select the files, then open the Properties dialog window.
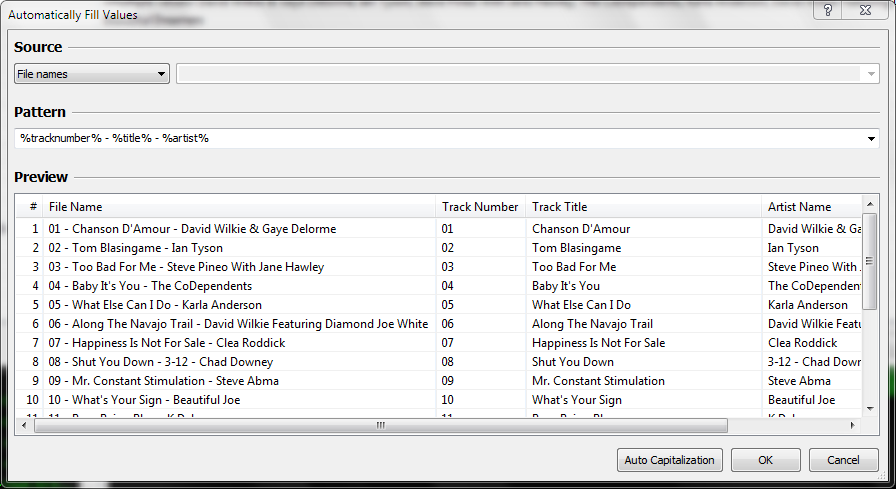
Right click and select Automatically Fill Values…
Then with the source set to File names, fill in or select a Pattern which puts the information in the correct fields.
After you select Ok, Foobar will retag the files properly.
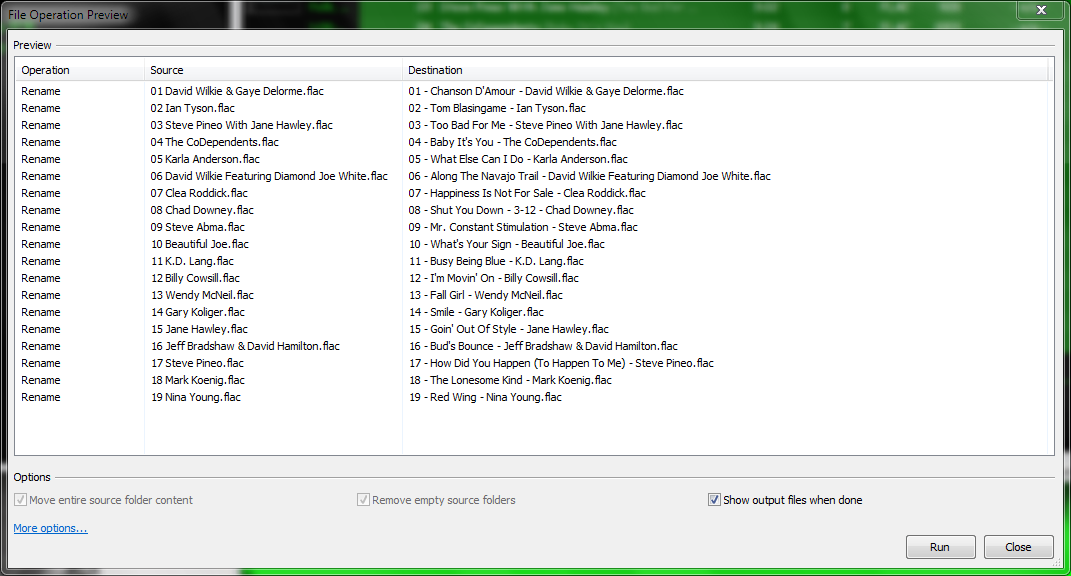
However, if the file names don’t contain both artist names and track title information, you’ll have to rename the files from the tags first. Select the files then right click and select File Operations>Rename
and after the files have been renamed, carry out the rest of the above procedure.
Add-on components greatly extend the appearance and functionality of Foobar2000.
Open the Foobar Preferences dialog (File | Preferences or press CTRL+P)
Go to the Components page (click components at the top of the list)
Click the “Install…” button and select the component archive (zip) file, or drag the component’s file to the Installed components list box.
Press “OK“, you will be prompted to restart foobar2000 in order to load the newly installed component.
If the component has a visual element, you’ll need to add the component to the DUI (Default User Interface) now. Toggle View\Layout\Enable Layout Editing Mode and then add a new panel or tab. Right click the new panel or tab area and select “Add New UI Element …“, then select the new component from the list. You may need to adjust borders to fit. Exit layout mode.
Date and duration adjusted (DADA) auto-rating algorithm for foobar2000
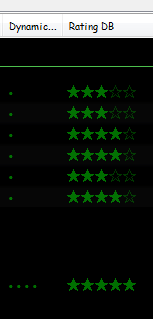
The DADA Auto-Rating algorithm (DAR) automatically rates music according to a variety of statistics collected by foobar2000’s official “playback statistics” plugin.
If done well, an auto-rating algorithm will simply tell you what your favorite (and conversely, least favorite) music is, and the rating will be derived from and reflect actual listening behavior. This is quite different from manual ratings (e.g. 1 – 5 stars set by the user), since there’s very often a disparity between what we’d like ourselves to like, and what we actually like. For those interested in uncovering their actual musical tastes, a good auto-rating formula can be quite illuminating.
MilkDrop is a music visualizer – a “plug-in” or extension to Winamp or Foobar2000 music players. As you listen your music in Winamp, MilkDrop takes you flying through the actual sound waves you’re hearing, and uses beat detection to trigger myriad psychedelic effects, creating a rich visual journey through sound. MilkDrop can also be driven by a live audio feed (microphone or line-in).
USF is a format which allows emulation of the sound of an Nintendo 64, which would allow (almost) perfect replication of the music in games. USFs are then played through a player, with a suitable plugin, which allows it to be played.
One of the first Foobar components to consider installing is foo_jesus. This component automatically saves your current configuration and creates backup copies on a regular basis. If you have a problem, or a regret, you can easily restore Foobar to an earlier state.
Adds submenu: File>Preferences>Advanced>Autosave & Autobackup Backs up to: \Users\username\AppData\Roaming\foobar2000\autobackup
An advanced and evolved freeware audio player for Android, Mac, Windows and Wine. Foobar2000 can be extensively extended, modified and themed.
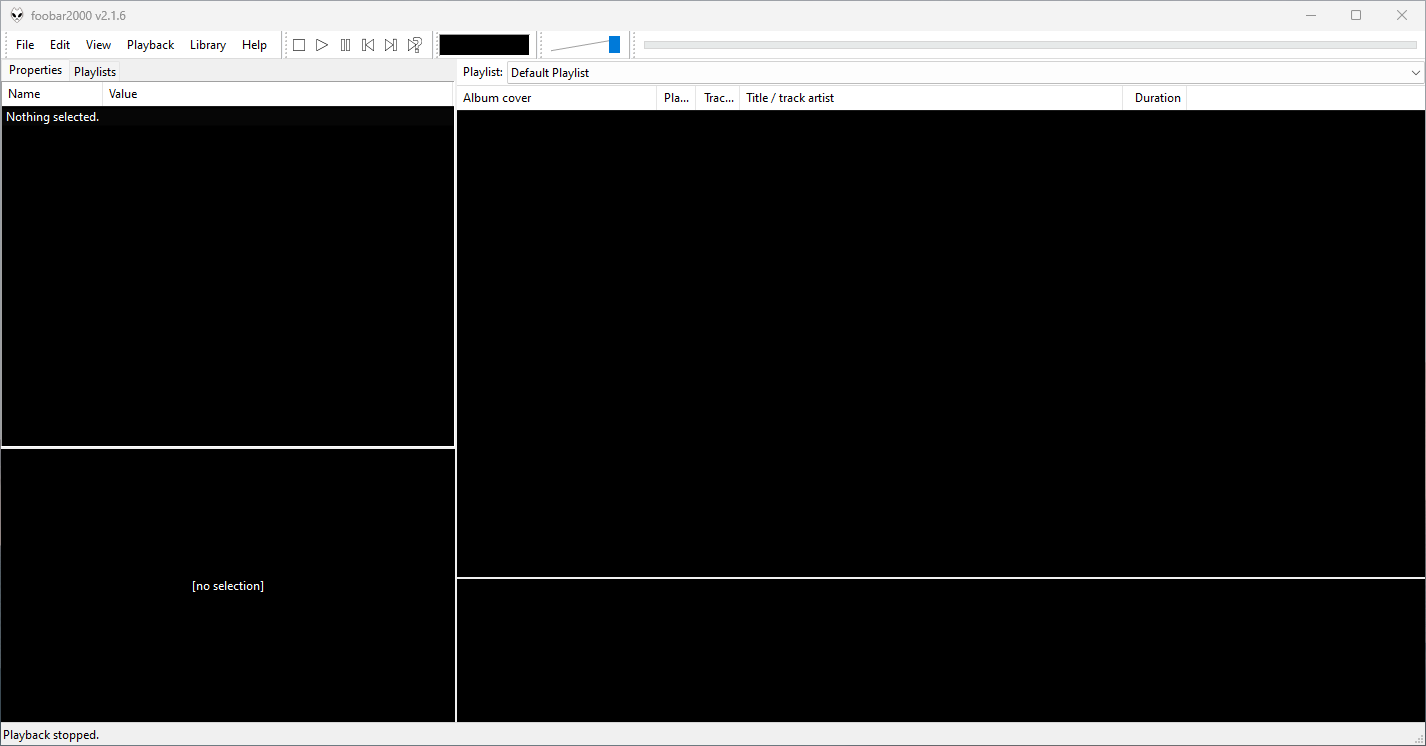
This is the basic Default User Interface or DUI. You will need to configure and extend the DUI Foobar2000 interface according to your preferences and requirements.
Foobar2000 Default User Interface
Features:
Supported audio formats: MP3, MP4, AAC, CD Audio, WMA, Vorbis, Opus, FLAC, WavPack, WAV, AIFF, Musepack, Speex, AU, SND… and more with additional components.
Open component architecture allows third-party developers to extend functionality.
Multiplatform: Android, Mac, Windows 32|64-bit and ARM (ARM64EC).
Interfaces:
Foobar2000 is not limited to the Default User Interface or DUI. There is an alternative popular interface called Columns User Interface or CUI. CUI is most often used for theming or skinning foobar2000. There is also a Classic User Interface but it is rarely used or referenced.
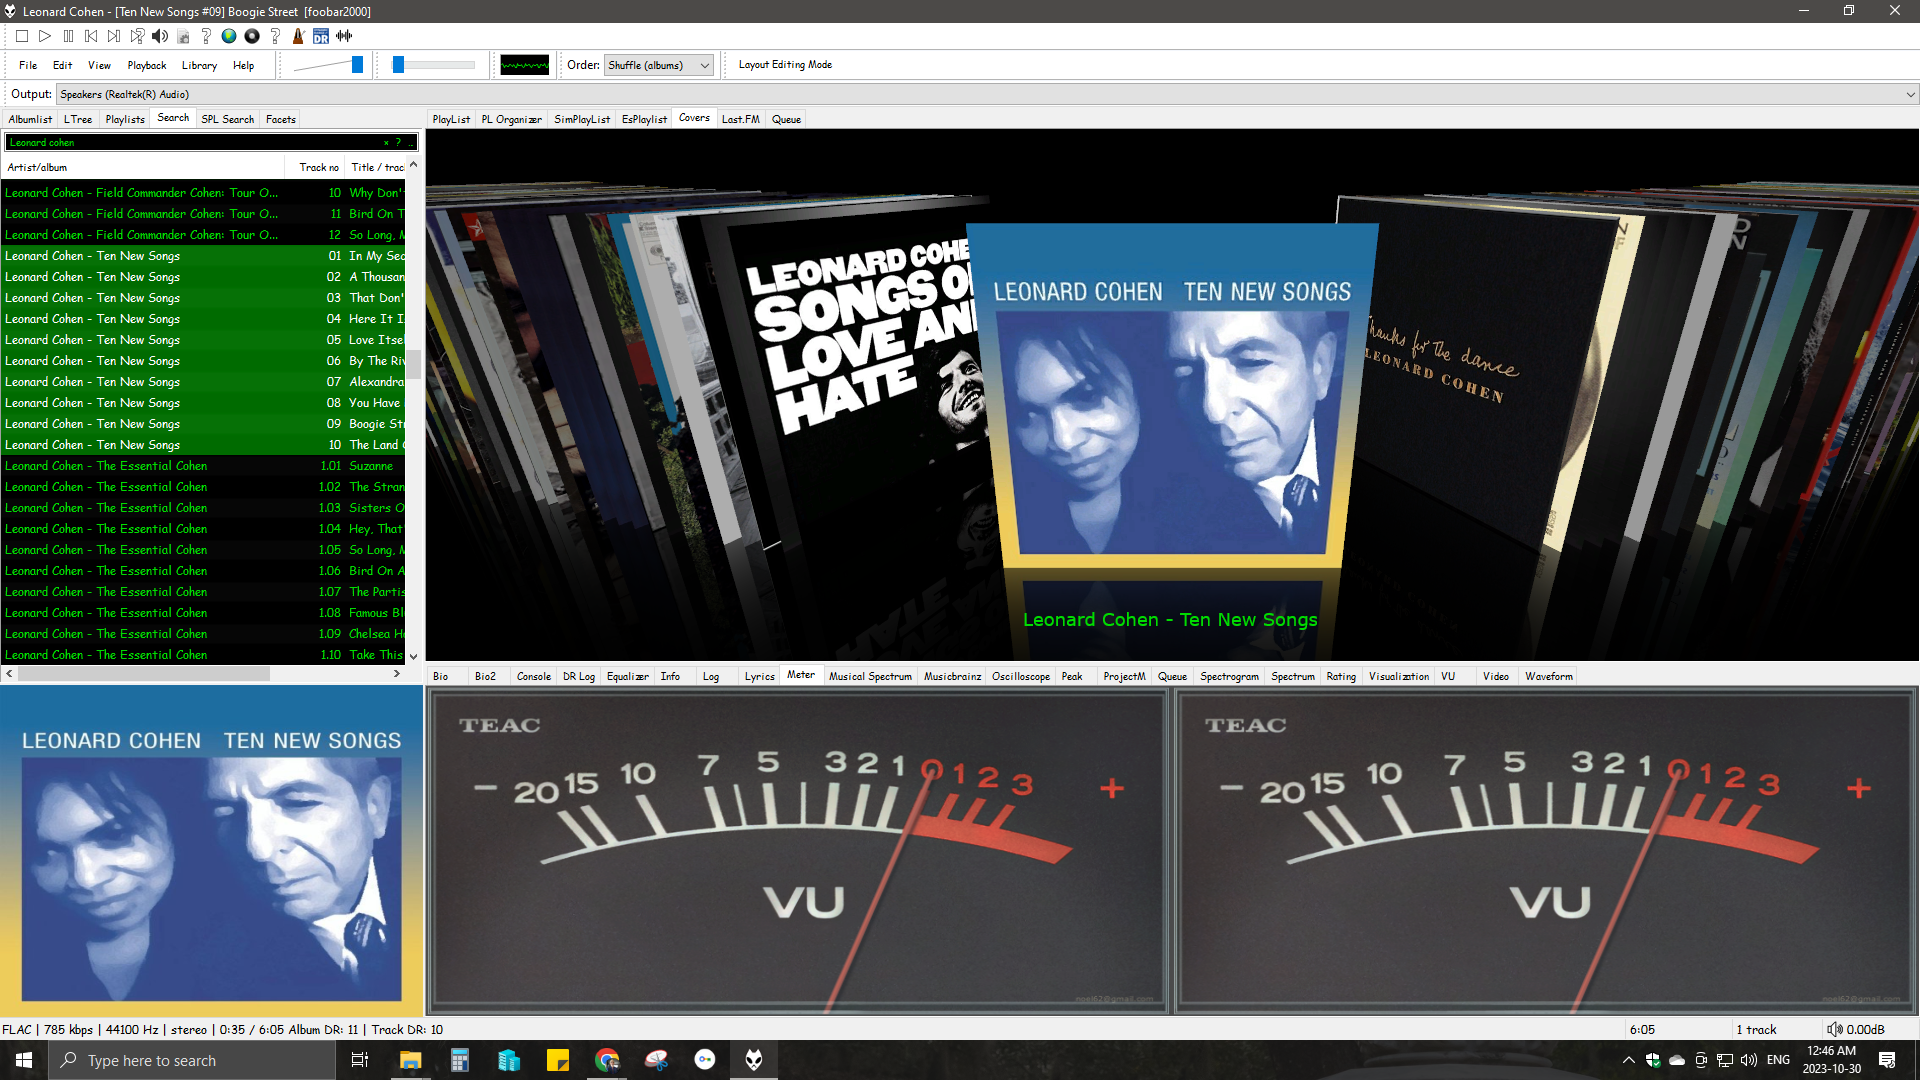
Copy any .bin skin files to the …\AppData\Roaming\foobar2000\user-components\foo_vis_vumeter folder (Shift+File>Browse configuration folder)
Select View > Layout > Enable layout editing mode
Right click the tab area in a panel and select Add New Tab
Right click the new tab and rename it “Analog VU Meter” or whatever
Right click the new display area and select Add New UI Element
Select ‘Analog VU Meter’ from the list (Playback Visualization)
Disable layout editing mode
Group Submenus:
Adding a new subfolder to the …\AppData\Roaming\foobar2000\user-components\foo_vis_vumeter folder creates a listing with that subfolder’s name in the Group submenu. ‘.bin‘ meter files in those subfolders are then accessible via the corresponding group submenu.
Parameters:
Right mouse click on the meter display:
Layout submenu / Horizontal or Vertical / Dual or Single / Mono / Lock Aspect Ratio
Select skin
Preferences > Advanced > Display > VU Meter:
VU meter sensitivity – Default left and right preamp (db): 20 and rise time(s) 0.20s
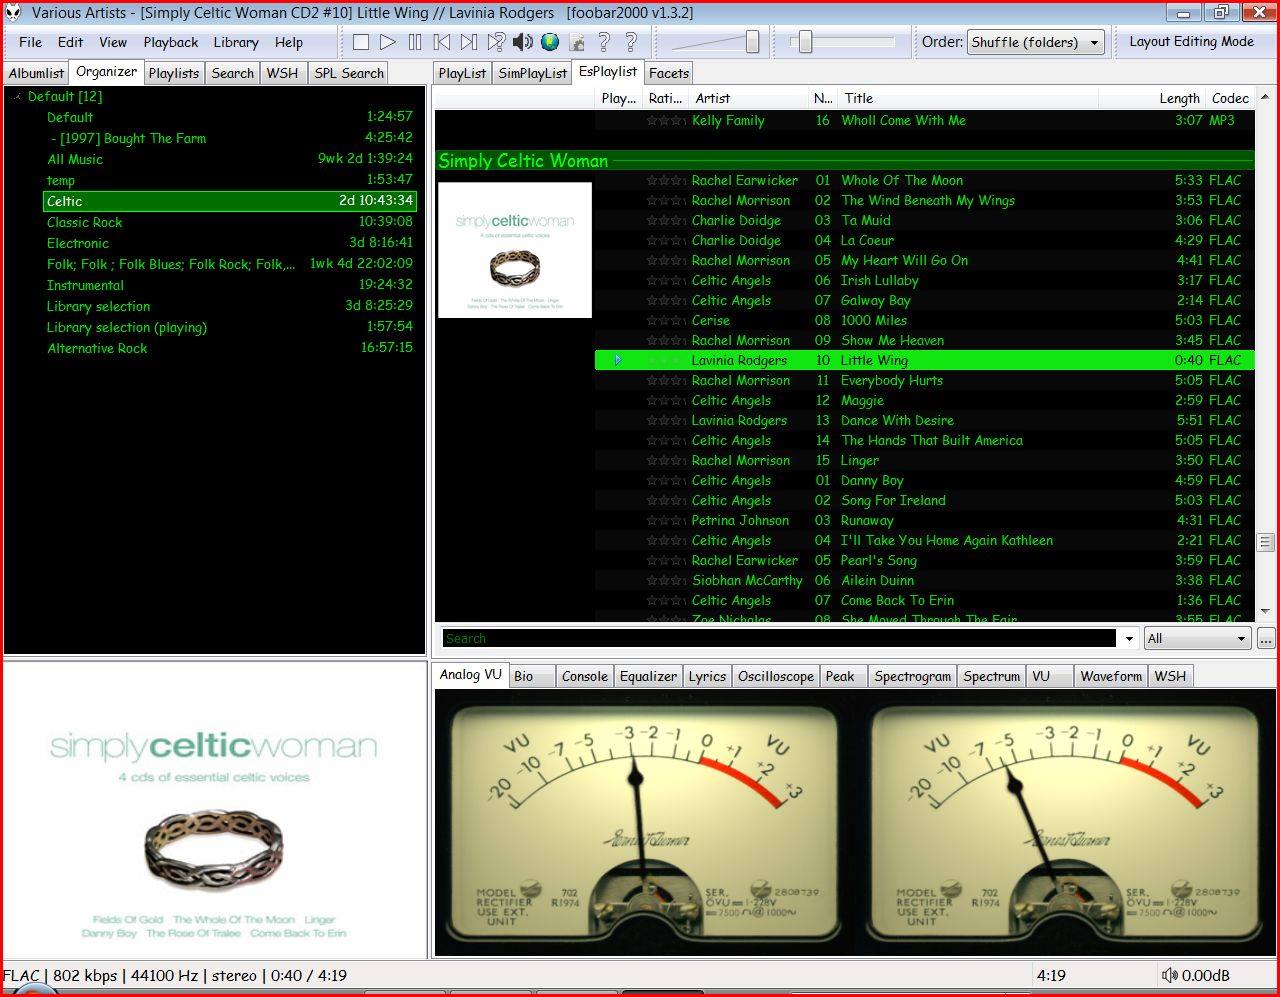
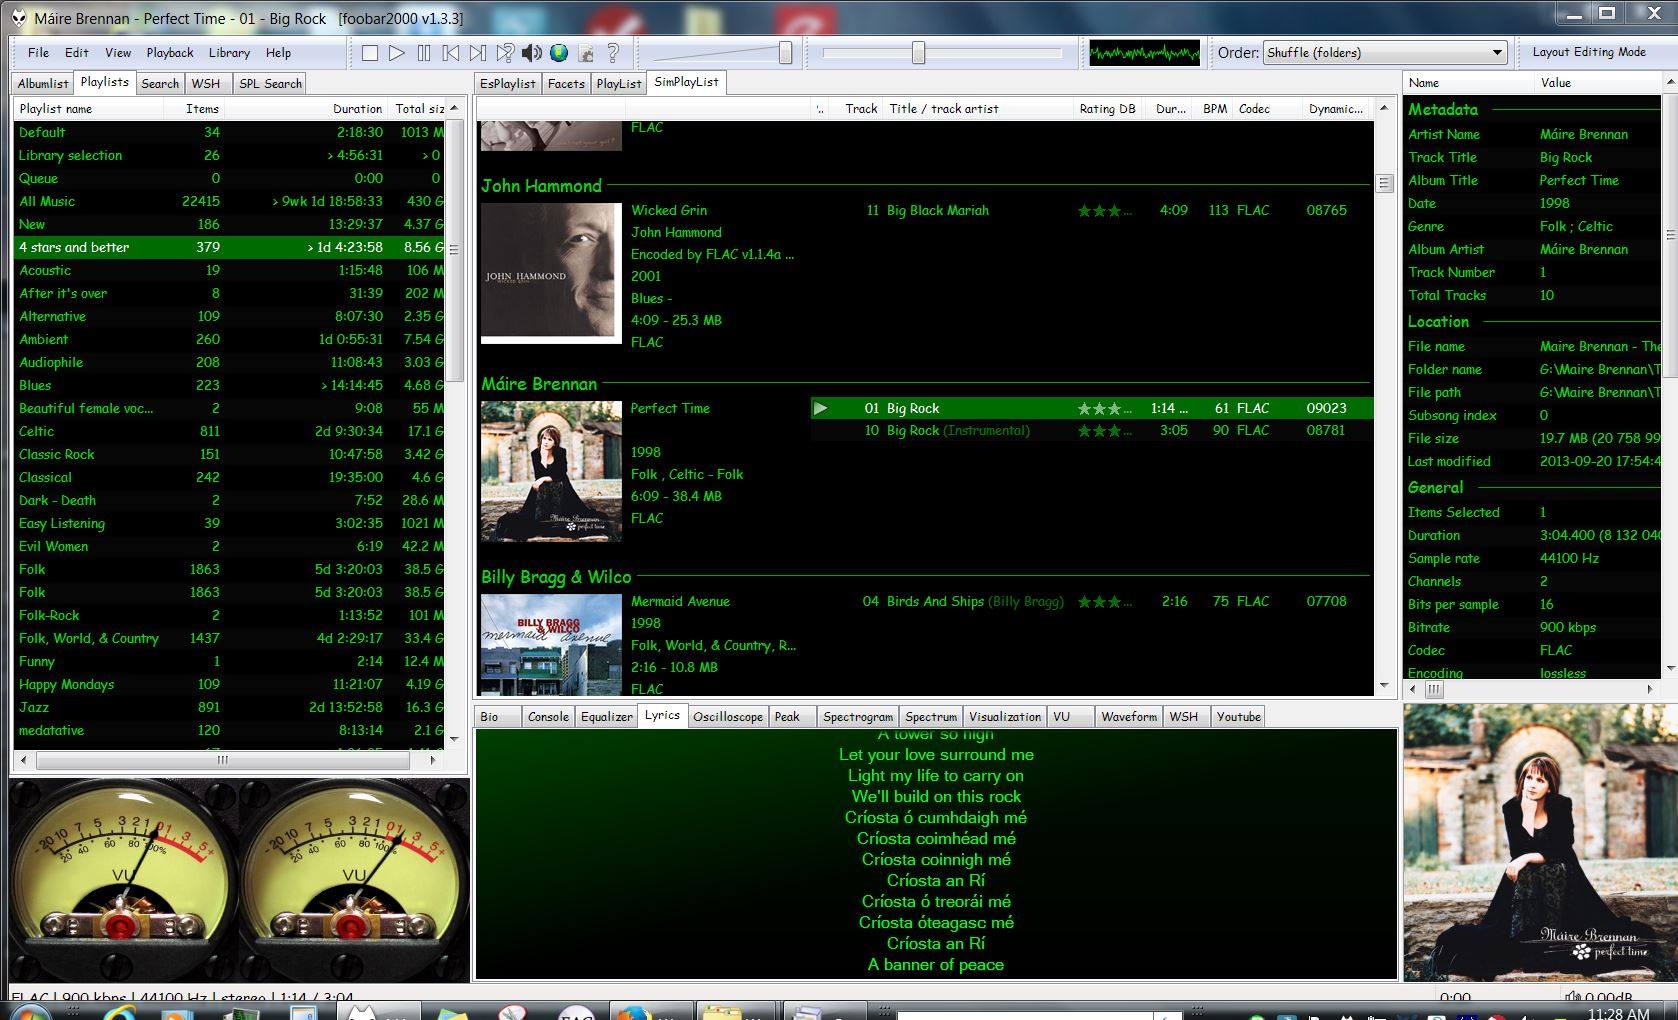
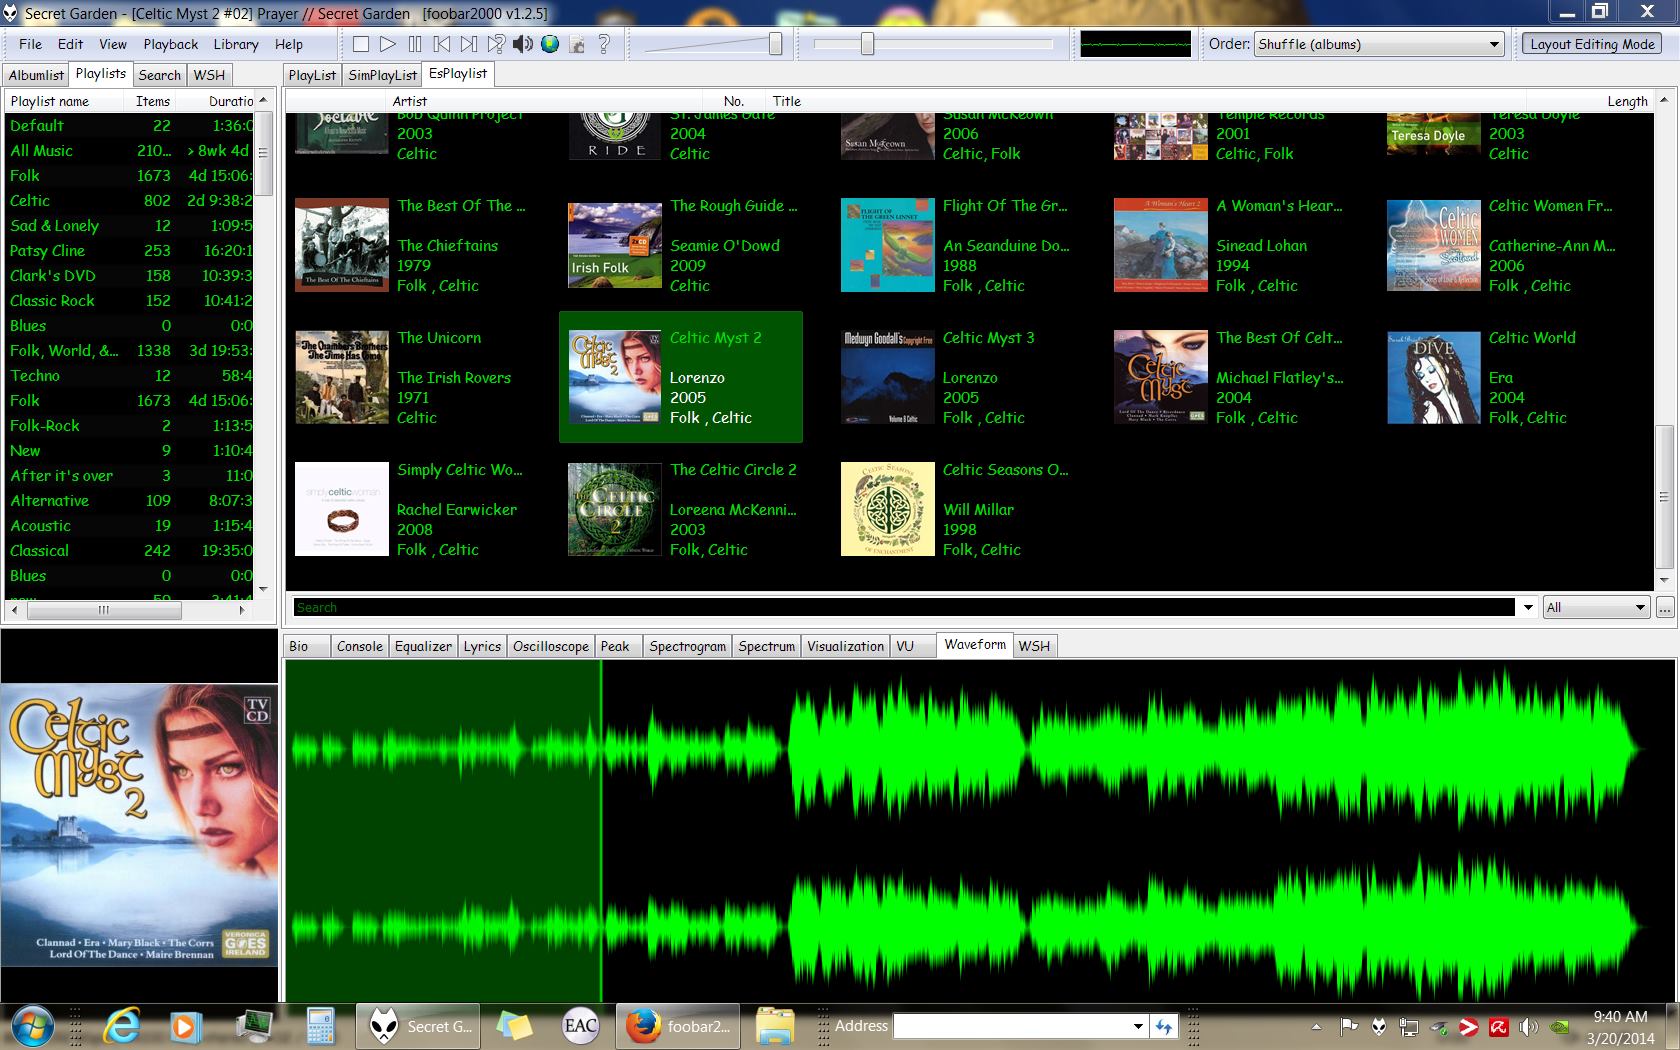
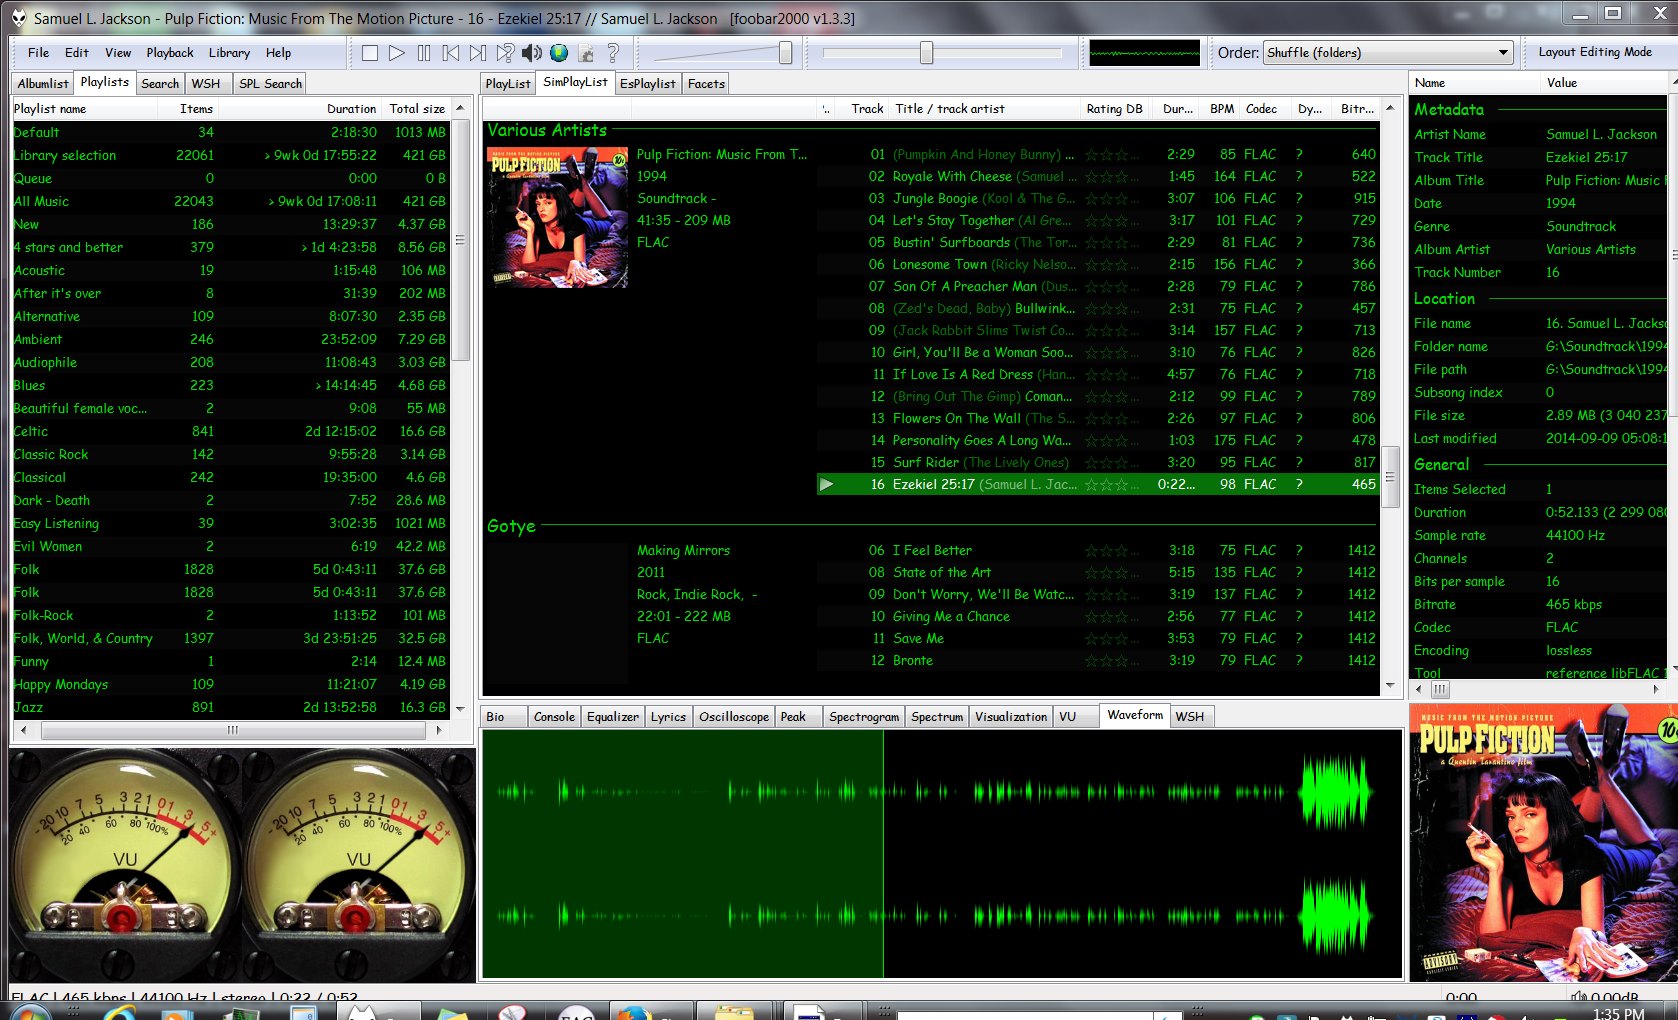
Four Panels & MusicBrainz ReleasesFour Panels – All Music ReviewFour Panels with Dynamic Range & Waveform SeektableDefault User Interface (DUI) – Four panels – Playlist Organizer (foo_plog)Four panels – EsPlaylist – Analog VU metersFour Panels – SimPlaylist – VisualizationsSix panel with lyrics and 4 star or better playlistFour Panel – Seektable WaveformSix Panel – SimPlaylist – Default analog VU metersSix panel – SpectrogramCurrent 4 Panel DUIFour Panel – Playlist Organiser Script